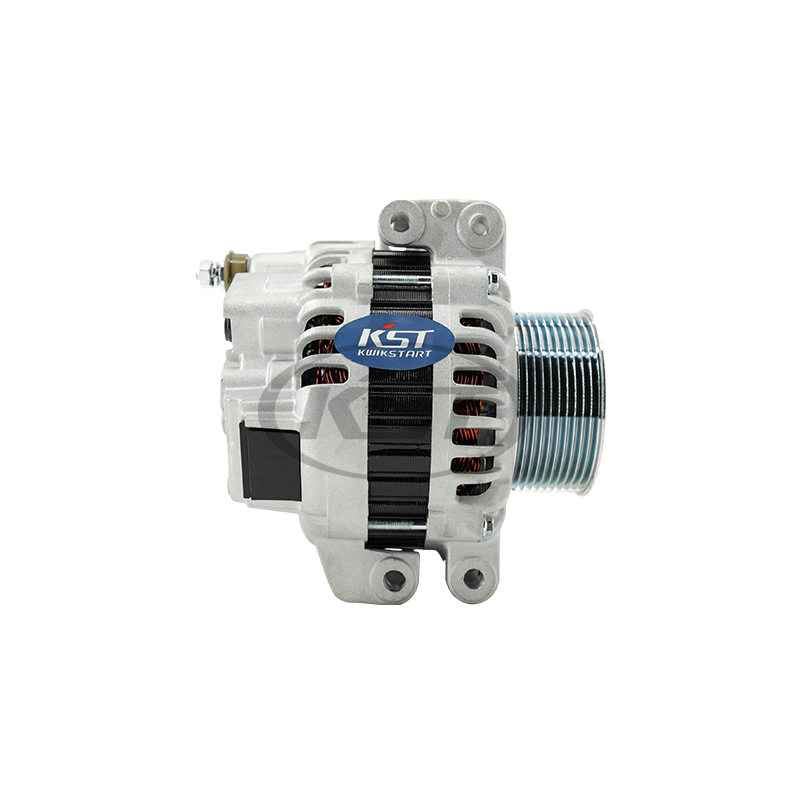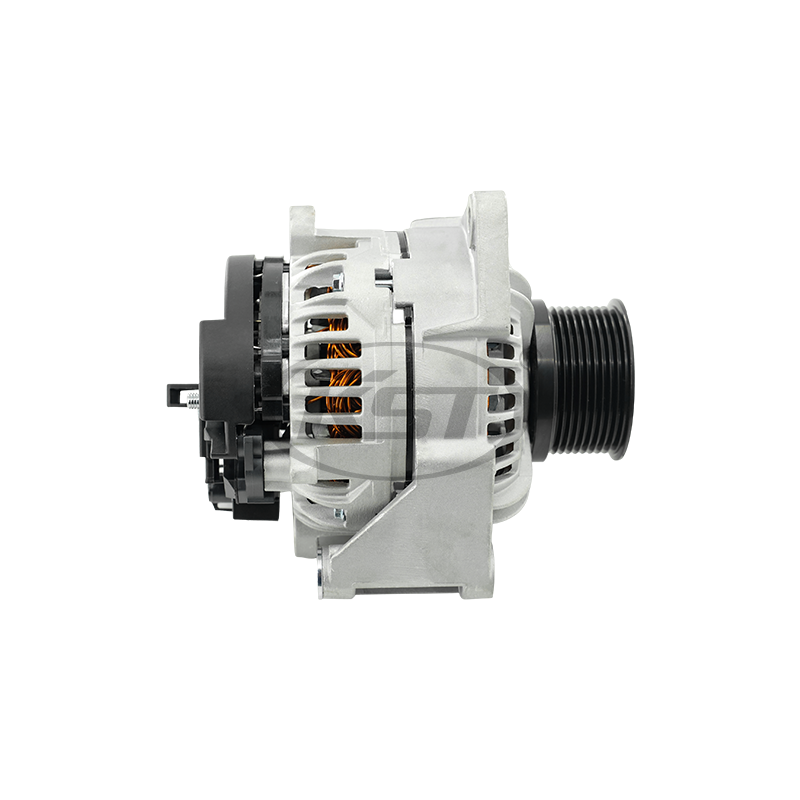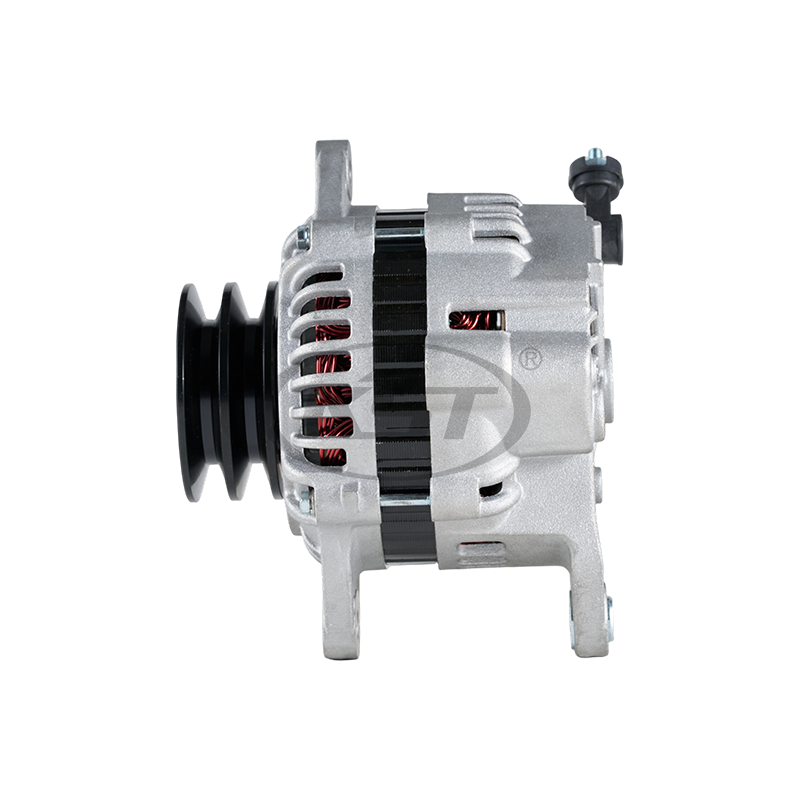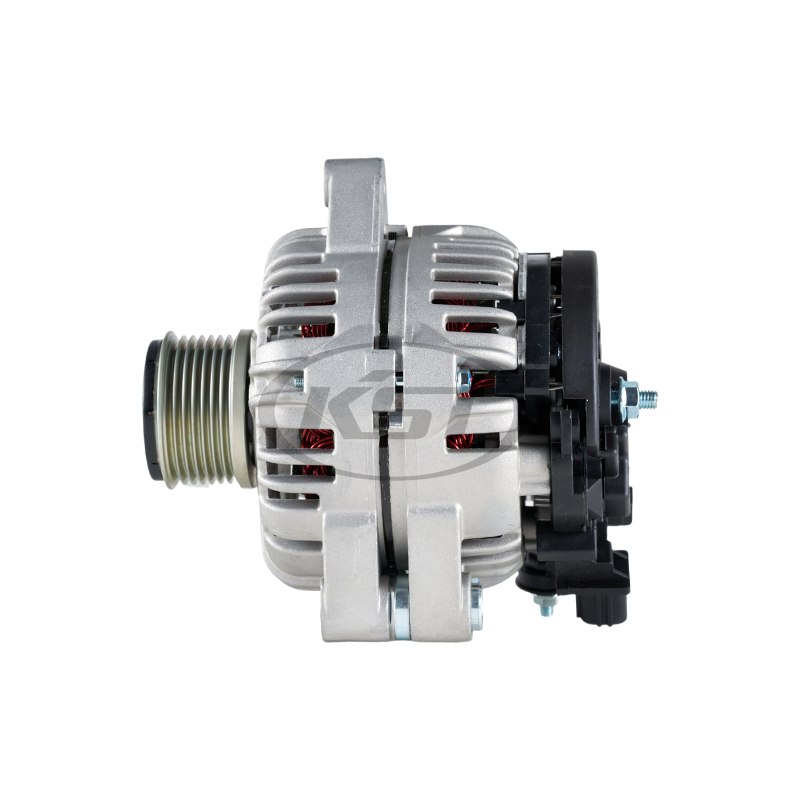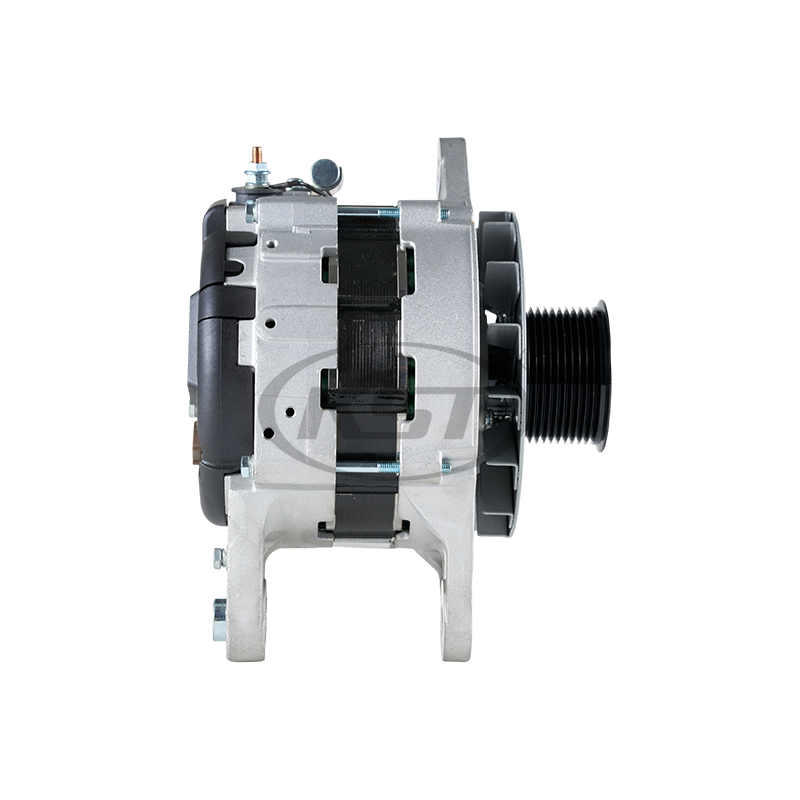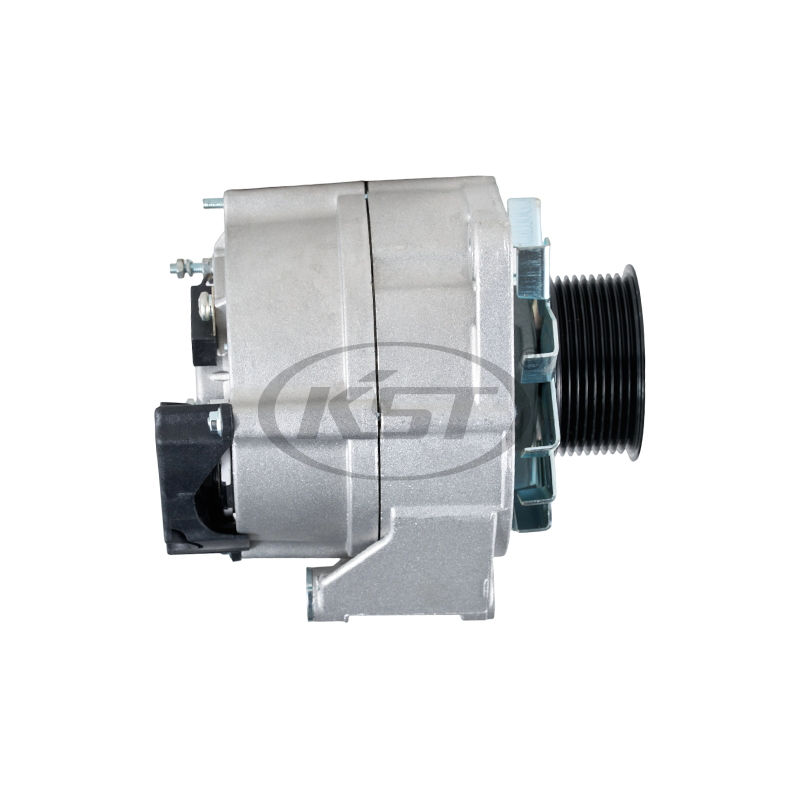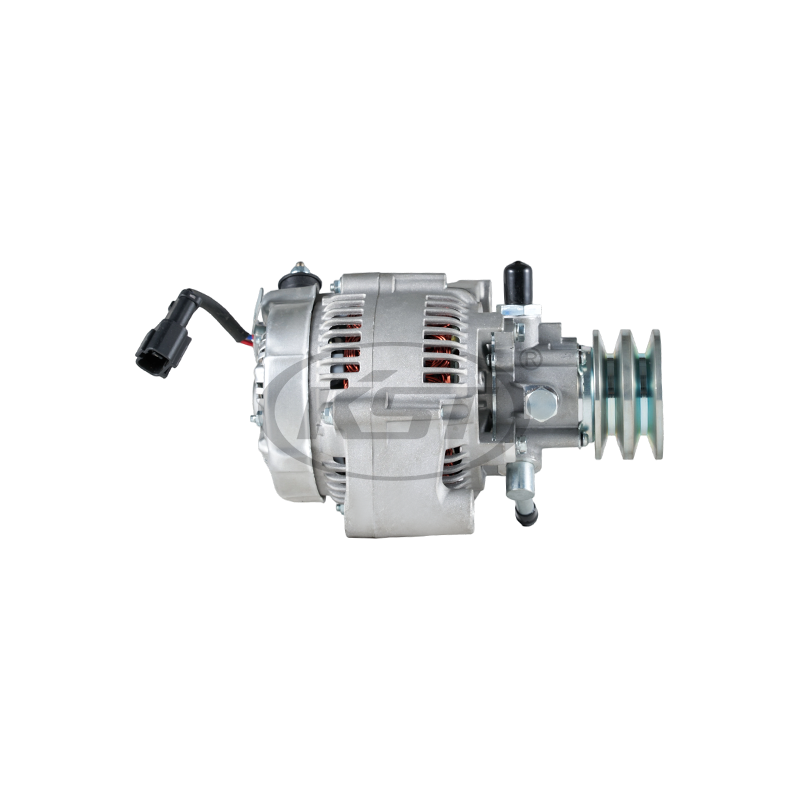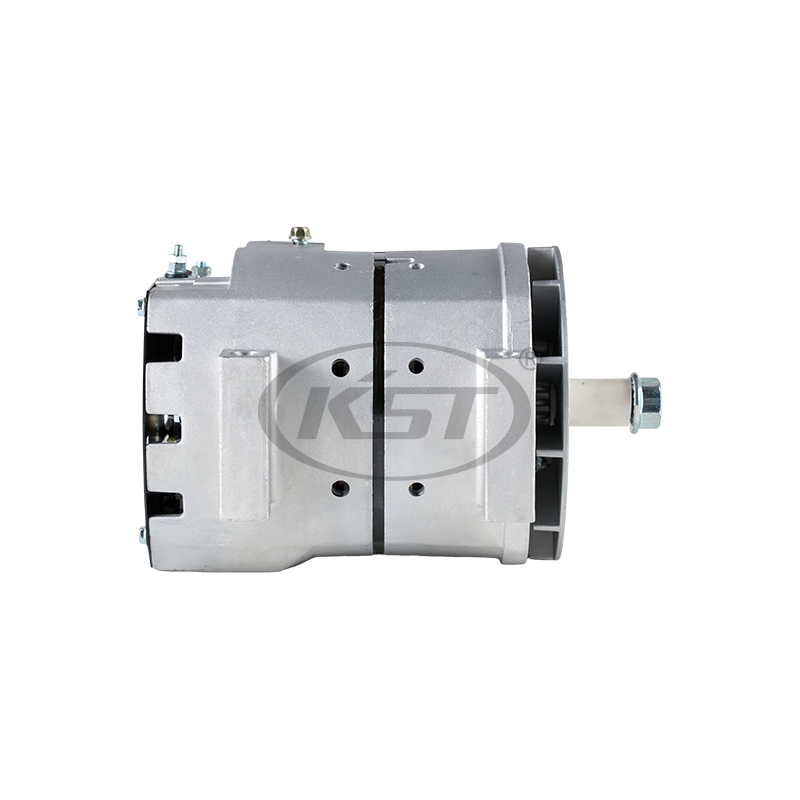
An alternator rarely works in isolation — it's one part of a mechanical and electrical system, and how it's mounted, wired, driven, and cooled shapes how consistently it performs. Change any of these conditions, and the charging behavior can shift, sometimes in ways that aren't obvious until output becomes uneven.
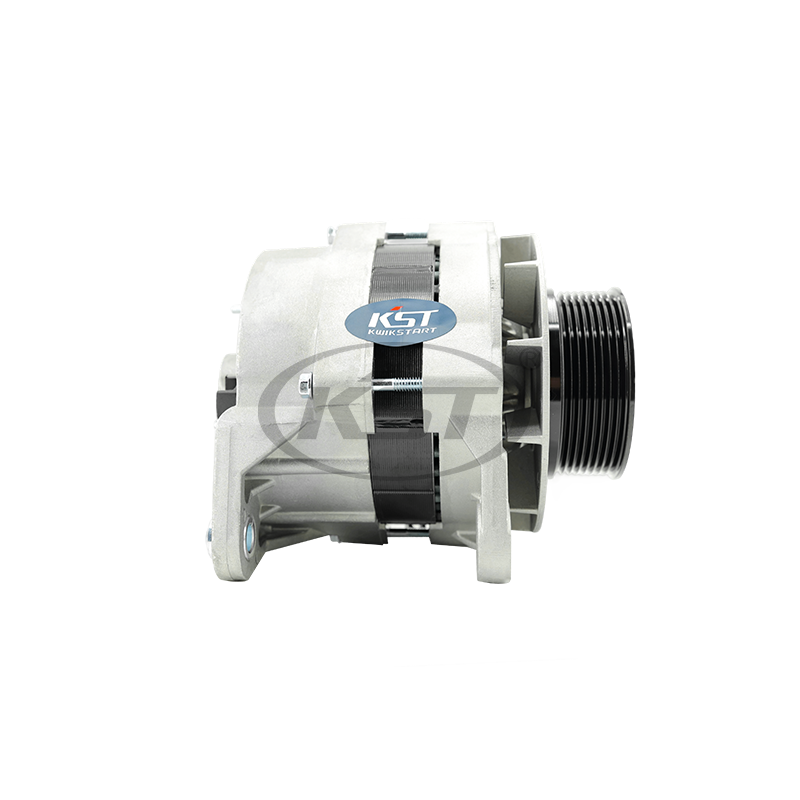
For a 24 Volt 60 Amp Alternator, installation quality ties directly into day‑to‑day stability. The mounting has to hold firm, the drive needs to stay aligned, and the electrical path between alternator, battery, and connected loads has to stay clean and secure.
A workable installation begins with where the alternator physically sits. Mounting points hold the housing steady while the drive transmits motion from the engine or motor. If the support is uneven or has loosened over time, small shifts can alter the relationship between the rotating components — sometimes gradually enough that nobody notices until there's a noise or a belt issue.
Electrical wiring adds its own layer of concerns. Current has to pass through cables, terminals, and ground points before it reaches the rest of the system. A connection that's loosened, collected dirt, or developed surface oxidation can add resistance nobody planned for.
The environment matters too. An alternator tucked into a crowded compartment may get less airflow and less room for someone to actually check it during routine service. Heat radiating from nearby components can push local temperatures higher than the alternator's own operation would suggest.
A few installation factors tend to deserve a closer look together:
Issues in one spot often ripple into another — an unstable bracket, for instance, can put extra strain on the drive or nearby wiring. Looking at the installation as a whole tends to give maintenance work a better starting point than examining the alternator by itself.
Where the unit sits determines more than whether it fits in the available space. Position affects alignment, vibration, how cables get routed, and how easy it is to reach surrounding parts later.
A secure bracket holds the alternator steady while the drive rotates around it. Uneven fastening or a support point that's weakened over time can let the unit shift during operation. That movement, left unaddressed, can slowly change the alignment between the alternator pulley and whatever drives it.
Alignment is worth checking before startup and again once the equipment is running. Odd movement, unfamiliar noise, or vibration that wasn't there before often points to something in the drive arrangement worth a closer look.
Clearance around the housing matters in its own way. A compartment packed too tightly makes routine inspection harder and can restrict airflow. Cables need enough room too — pressed against rotating parts or hot surfaces, they wear faster than expected.
A practical check can focus on a few areas:
Good positioning pays off later, too. When the unit stays put, changes in vibration, sound, or connection condition become easier to notice before they turn into something bigger.
The electrical path deserves roughly the same attention as the mounting. Cables carry current between the alternator, the battery, and the equipment, while terminals and ground points complete the loop.
Cable length, conductor size, routing, and terminal condition all shape how that path performs. A connection that looks fine on the surface can still carry resistance because of looseness, contamination, corrosion, or vibration that's worked at it over time.
For a 24 Volt 60 Amp Alternator, checking only the output terminal leaves a chunk of the circuit unexamined. Battery connections and ground points need the same attention — clean, tight, and free of buildup.
A few signs tend to show up when a connection is starting to fail:
Cable routing matters here too. Lines run close to moving parts wear from abrasion, and exposure to heat can slowly degrade insulation and the connection materials underneath it.
Battery condition adds another variable to the mix. A battery that's run down places more demand on the charging system, and whatever loads are connected can change how things behave during operation. For maintenance purposes, it makes sense to look at the alternator alongside the battery, the wiring, and the loads it's feeding — rather than treating it as a standalone part.
Heat generated during electrical conversion and mechanical operation needs somewhere to go. How much room surrounds the alternator affects how easily air moves and how much heat lingers near the housing.
A compartment can have enough physical room for installation while still offering limited airflow. Heated components nearby can raise the local temperature further, regardless of how the alternator itself is running.
| Installation Factor | Operating Consideration | Inspection Focus |
| Mounting Space | Access and airflow | Check surrounding clearance |
| Cable Routing | Heat and movement | Keep cables supported |
| Nearby Heat Sources | Local temperature | Check component placement |
| Airflow | Heat removal | Keep ventilation areas clear |
| Housing Condition | Heat transfer | Remove accumulated debris |
Airflow becomes more relevant the longer equipment runs, since heat keeps building as electrical demand and mechanical movement continue. Dust or debris collecting around ventilation openings can restrict air movement further, sometimes without anyone noticing until temperatures climb.
A workable installation needs room for both operation and inspection. Keeping heated components apart, leaving ventilation paths open, and routing cables away from hot surfaces tend to help preserve the conditions the charging system was designed to run in.
Mechanical support, electrical connections, and cooling space make up three closely linked parts of the installation environment. Vibration and drive alignment add another layer on top of that, since movement during operation can gradually wear at both mechanical parts and the electrical connections sitting nearby.

Mechanical vibration can surface problems that stay hidden while the equipment sits idle. Since an alternator connects into a rotating drive system, the condition of its mounting points and alignment shapes how smoothly the whole assembly turns.
A slight shift in mounting position can quietly alter the relationship between rotating parts. Once alignment drifts, the drive components tend to move unevenly, and that vibration doesn't stay contained — it can travel into brackets, fasteners, nearby wiring, and other connected hardware.
A few conditions are worth watching during inspection:
Vibration doesn't always trace back to the alternator itself. The driving component, the mounting structure, or nearby equipment can just as easily be the source. Looking at the mechanical arrangement as a whole helps narrow things down without swapping parts that were never the problem.
Drive alignment matters especially when the alternator runs through a belt‑driven setup. The rotating elements need to stay in the plane they were installed at, so any mounting adjustment that shifts the alternator's position can end up affecting more than the bracket alone.
Repeated vibration tends to reach electrical connections eventually. A cable without enough support can rub against nearby surfaces, and a terminal that's gone loose may slowly change how well it makes contact. Mechanical stability and electrical reliability end up tied together over the life of the equipment.
Electrical demand shifts throughout equipment operation rather than staying flat. Some loads stay on for long stretches, others switch on only when a specific function needs them. The charging system responds through its ongoing relationship with the battery and whatever's drawing power.
A 24 Volt 60 Amp Alternator can end up working under fairly different conditions depending on how much demand happens to be present at any given moment. The rated output on the label doesn't tell the whole story — actual working condition depends on what's actually connected and running.
Lighting, control equipment, motors, and other devices each place their own demand on the system. When several of these run together, the charging system is handling a noticeably different electrical situation than it would during lighter use.
Battery condition shapes this relationship too. A battery running low on charge tends to ask for more from the alternator, while one in better shape places less demand on it.
A few things are worth checking during inspection:
A shift in electrical behavior doesn't automatically point to an alternator fault. Wiring condition, battery performance, grounding, and the loads themselves can all shape the outcome.
Installation planning benefits from leaving room for cable inspection and connection upkeep. A well‑supported electrical path is simply easier to check when load conditions change during the day's operation.
The starting and charging systems operate at different moments, yet they stay electrically linked through the battery and shared wiring.
When an engine or machine starts up, the starter motor pulls energy from the battery. Once the equipment is running, the alternator takes over supplying power and supports the battery's recovery while whatever loads are active keep drawing energy.
The relationship can be pictured through three basic parts:
Battery → Starter Motor → Alternator
The battery holds the energy needed for starting. The starter motor uses that stored energy to get things moving mechanically. The alternator then steps into its role as part of the charging system once operation begins.
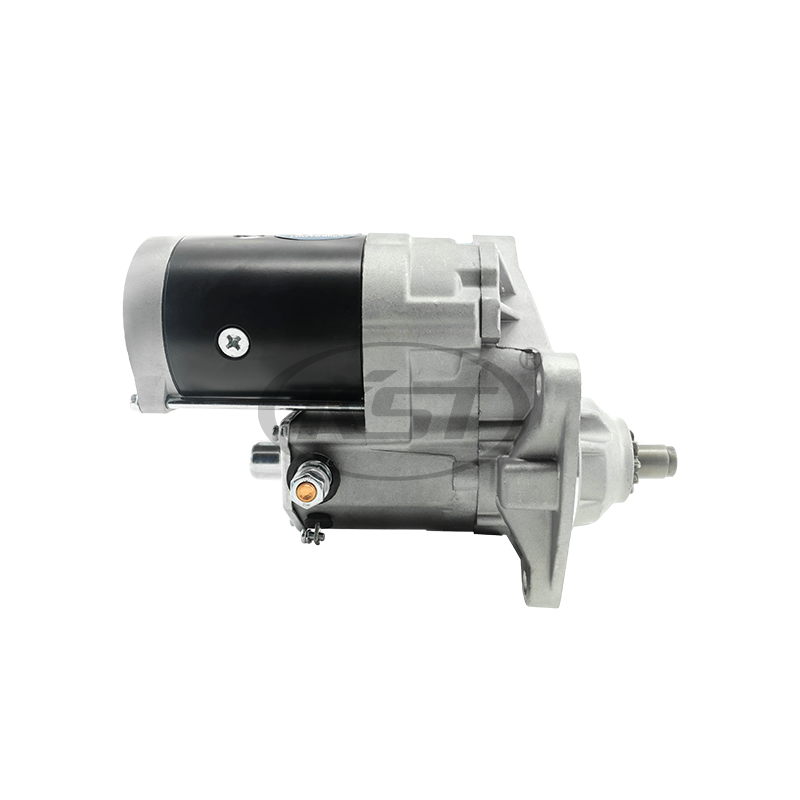
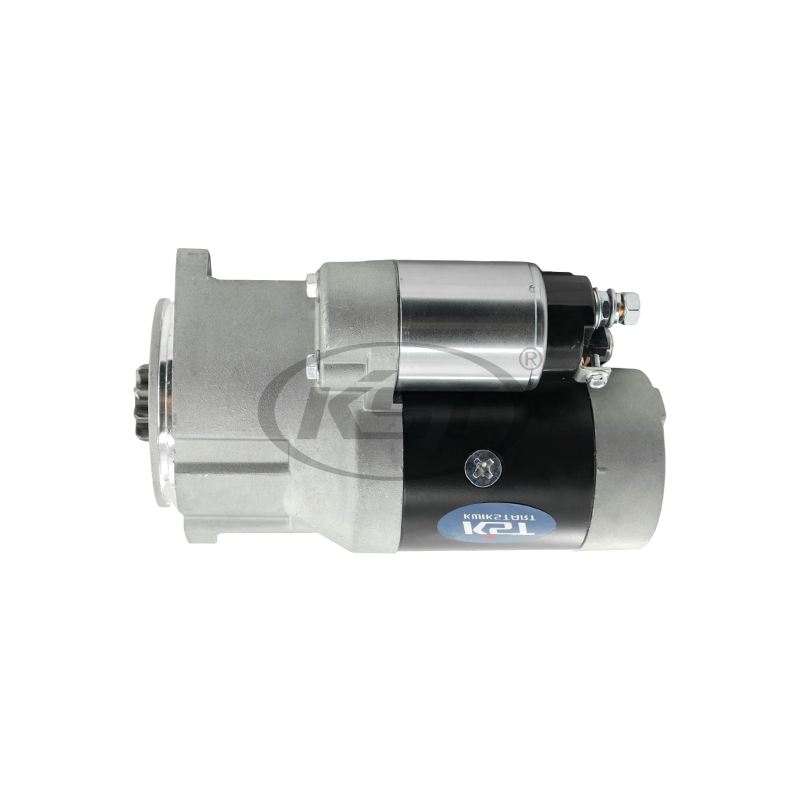
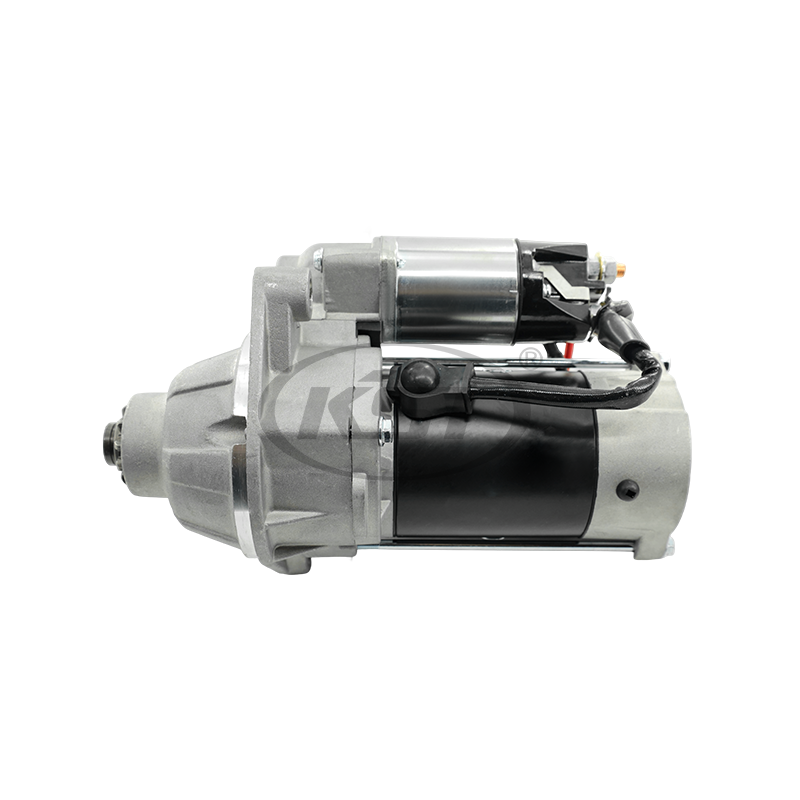
A Starter Motor Factory may build starting components for a range of equipment setups, which makes compatibility between the starter, battery, wiring, and charging system a real consideration during system design — not something to sort out after installation.
Installation issues tend to show up when the starting circuit and the charging circuit get treated as separate concerns. Cable connections, grounding points, and battery terminals matter to both stages of operation.
Worth paying attention to during maintenance:
A weak connection somewhere in the starting circuit can affect battery condition, and an issue in the charging circuit can slow how quickly the battery recovers after starting. Checking both systems together gives a clearer read on what's actually happening electrically.
Where the starter and alternator physically sit can also shape cable routing. Long or poorly supported cables end up exposed to vibration, heat, or abrasion. Keeping the electrical path organized during installation makes later inspection considerably easier.
Installation inspection doesn't really end once the alternator is mounted and wired in. A short run under operating conditions can reveal things that stay invisible while the equipment sits switched off.
The mechanical side is worth reviewing before startup. Mounting points should stay secure, the drive arrangement should remain aligned, and there should be enough clearance around the housing. Any protective covers or related components ought to be back in their intended positions too.
Electrical checks can then shift to connection condition and cable routing. Terminals should stay secure, cables need proper support, and grounding points should keep clean contact.
A practical post‑installation check might cover:
Regular inspection earns its keep because installation conditions shift after continued operation. Fasteners loosen, cables shift position, dust gathers around ventilation areas, and vibration gradually works at contact points over time.
For equipment running a 24 Volt 60 Amp Alternator, stable operation comes down to how mechanical support, electrical connections, cooling space, drive alignment, battery condition, and connected loads interact with each other. A Starter Motor Factory may concentrate on starting components specifically, but the complete equipment installation still needs the starting and charging circuits working in step.
Good installation practice, in the end, isn't about one adjustment done well — it's about keeping the whole operating environment suitable for the equipment over time. Checking physical position, electrical paths, airflow, vibration, and load conditions at regular intervals gives maintenance teams a practical way to catch changes before they turn into larger problems.
Your email address will not be published. Required field are marked*
Get in Touch
 Heavy Duty Vehicle Motor Factory


 en
en  English
 عربى
عربى فارسی
فارسی